
The Ultimate Guide to Deck Staining and Finishing: Tips from Professional Painters


Staining and finishing your deck is an essential step in maintaining its beauty and extending its lifespan. Whether you're a seasoned DIY enthusiast or a first-time deck owner, following expert advice can make the process more efficient and effective. In this guide, we'll delve into the best practices for deck staining and finishing, drawing on tips from professional painters.
Why Stain Your Deck?
Your deck is constantly exposed to the elements, which can lead to wear and tear over time. Staining not only enhances the natural beauty of the wood but also provides a protective barrier against moisture, UV rays, and mildew. This protective layer helps to prevent cracking, warping, and discoloration, ensuring that your deck remains in top condition for years to come.
Choosing the Right Stain
Before you begin staining, it's crucial to select the right type of stain for your deck. There are three main types of stains: transparent, semi-transparent, and solid. Transparent stains offer minimal color but highlight the natural grain of the wood. Semi-transparent stains provide a subtle color while still showing the wood's texture. Solid stains deliver a rich, opaque finish that hides imperfections.
Consider the age and condition of your deck when choosing a stain. Older decks with more imperfections may benefit from a solid stain, while newer decks might look best with a semi-transparent option.
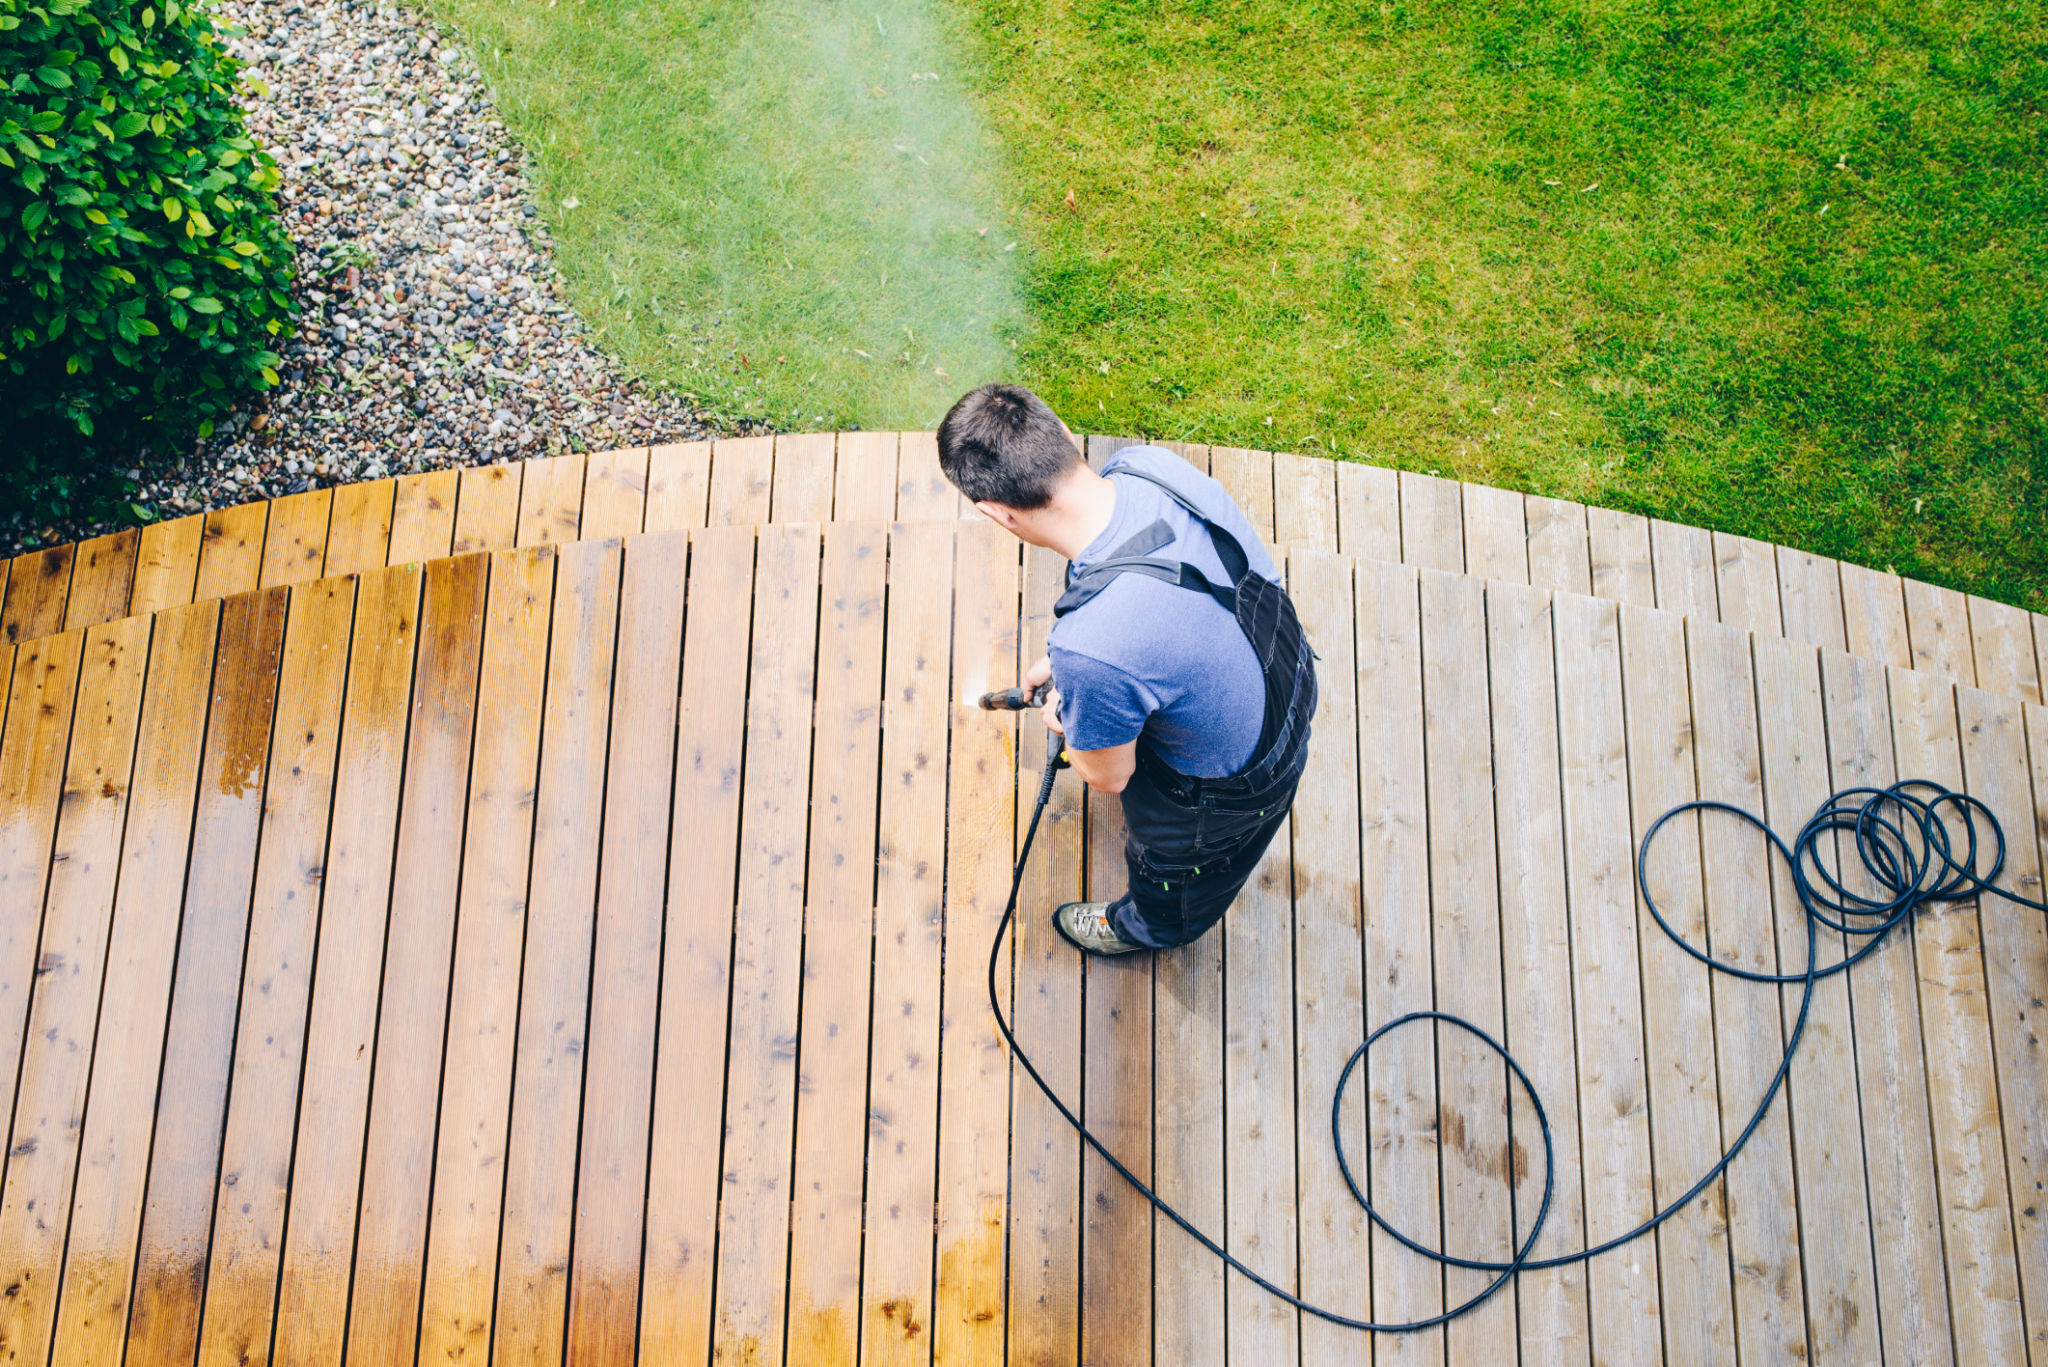
Preparation is Key
The success of your deck staining project heavily relies on proper preparation. Start by cleaning your deck thoroughly to remove dirt, grime, and old stain residue. Use a high-quality deck cleaner and a power washer for best results. Allow the deck to dry completely before moving on to the next step.
Sanding for Smoothness
Sanding your deck is an optional but recommended step, especially if the surface is rough or splintered. Sanding helps to create a smooth surface that allows the stain to adhere evenly. Use a power sander with medium-grit sandpaper for larger areas and sand by hand in tighter spots.
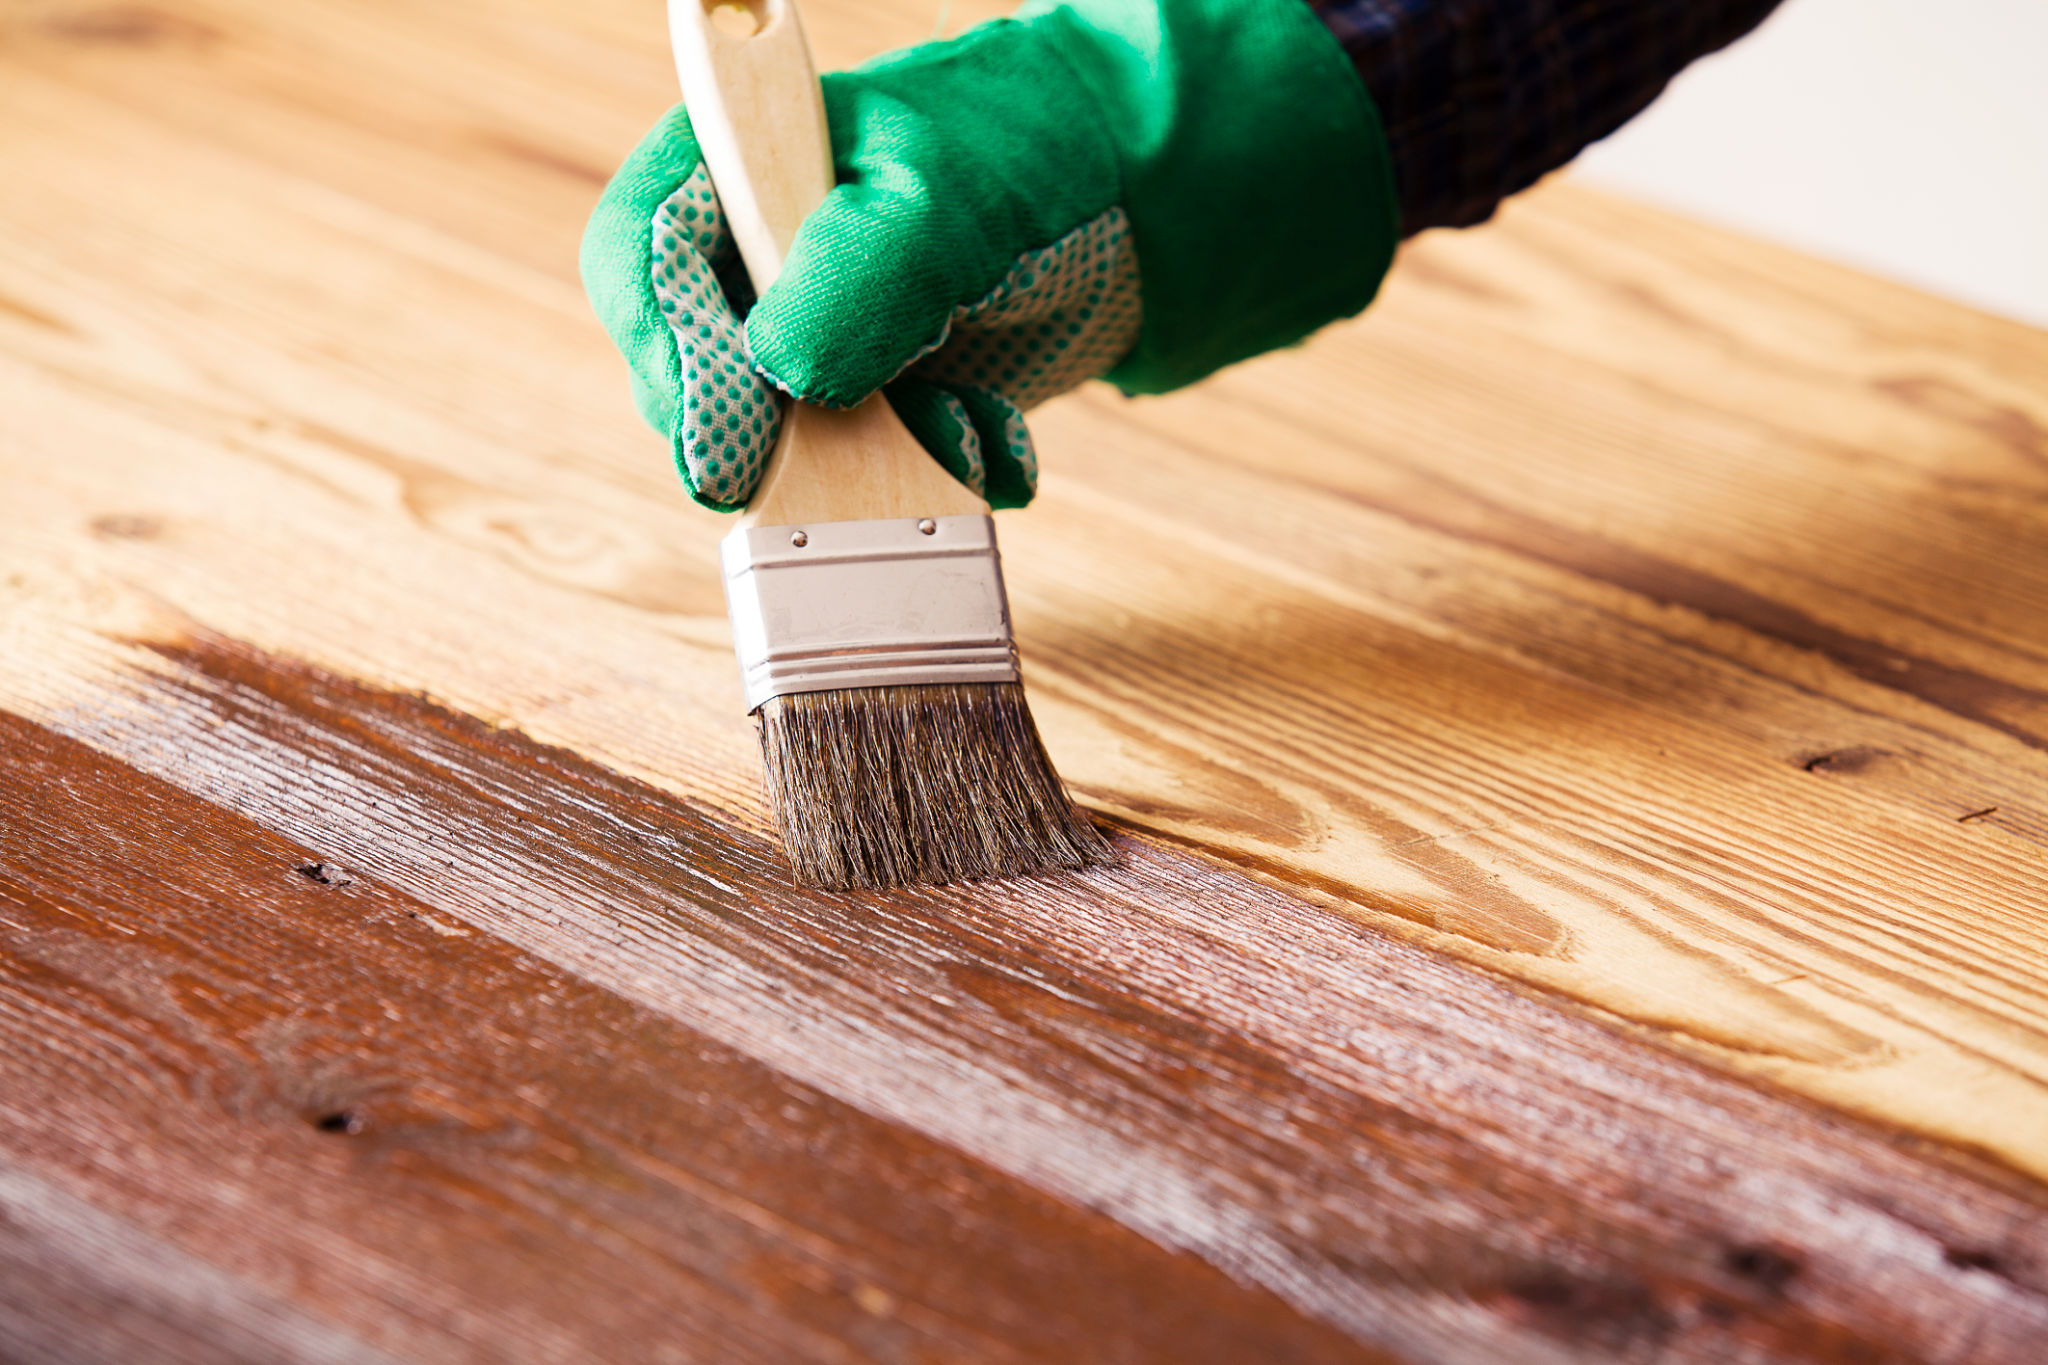
The Staining Process
Once your deck is clean and sanded, it's time to apply the stain. Use a brush, roller, or sprayer depending on your preference and the size of your deck. Apply the stain in thin, even coats, moving along the grain of the wood. Work systematically in small sections to ensure that you don't miss any spots.

Seal the Deal
After staining, consider applying a waterproof sealant for added protection. This step is particularly important in areas with harsh weather conditions. A sealant adds an extra layer of defense against moisture and UV damage, ensuring your deck remains beautiful and resilient.
Maintenance Tips
To keep your deck looking its best, regular maintenance is essential. Sweep away debris regularly and clean spills immediately to prevent stains. Inspect your deck annually for signs of wear and reapply stain or sealant as needed. With proper care, your deck will continue to be a vibrant outdoor retreat.
By following these expert tips on deck staining and finishing, you can transform your outdoor space into a stunning and durable extension of your home. Remember, the key to a successful project lies in careful preparation and selecting the right products for your specific needs.