
5 Common Mistakes in DIY Wallpaper Removal and How to Avoid Them


Introduction to DIY Wallpaper Removal
Tackling wallpaper removal on your own can be a rewarding experience, providing you with the satisfaction of transforming a space. However, it's not uncommon for DIY enthusiasts to encounter pitfalls along the way. Whether you're dealing with stubborn adhesive or damaging the walls, understanding common mistakes and how to avoid them can save you both time and frustration.

Underestimating the Task
One of the biggest mistakes is underestimating the complexity and time commitment involved in wallpaper removal. Many assume it's a simple peel-and-strip process, only to find themselves dealing with stubborn residues and damaged walls. It's essential to allocate enough time and gather all necessary tools before starting.
Plan your project by setting aside a weekend, especially if you're working on a larger room. This allows you to work methodically without rushing, reducing the risk of making errors.
Failing to Prepare the Room
Before diving into wallpaper removal, preparing the room is crucial. Many people skip this step, leading to unnecessary mess and potential damage to furniture and flooring. Here’s how to prepare effectively:
- Remove all furniture or cover it with plastic sheeting.
- Protect floors with drop cloths to catch debris and water spills.
- Turn off power to the room if you’ll be using water or steam.

Not Testing a Small Area First
Each wallpaper removal project is unique, influenced by factors like wallpaper type, adhesive strength, and wall condition. Failing to test a small area before committing can lead to unexpected challenges. Start by testing a small, inconspicuous area to determine the best removal method, whether it’s dry peeling, soaking, or steaming.
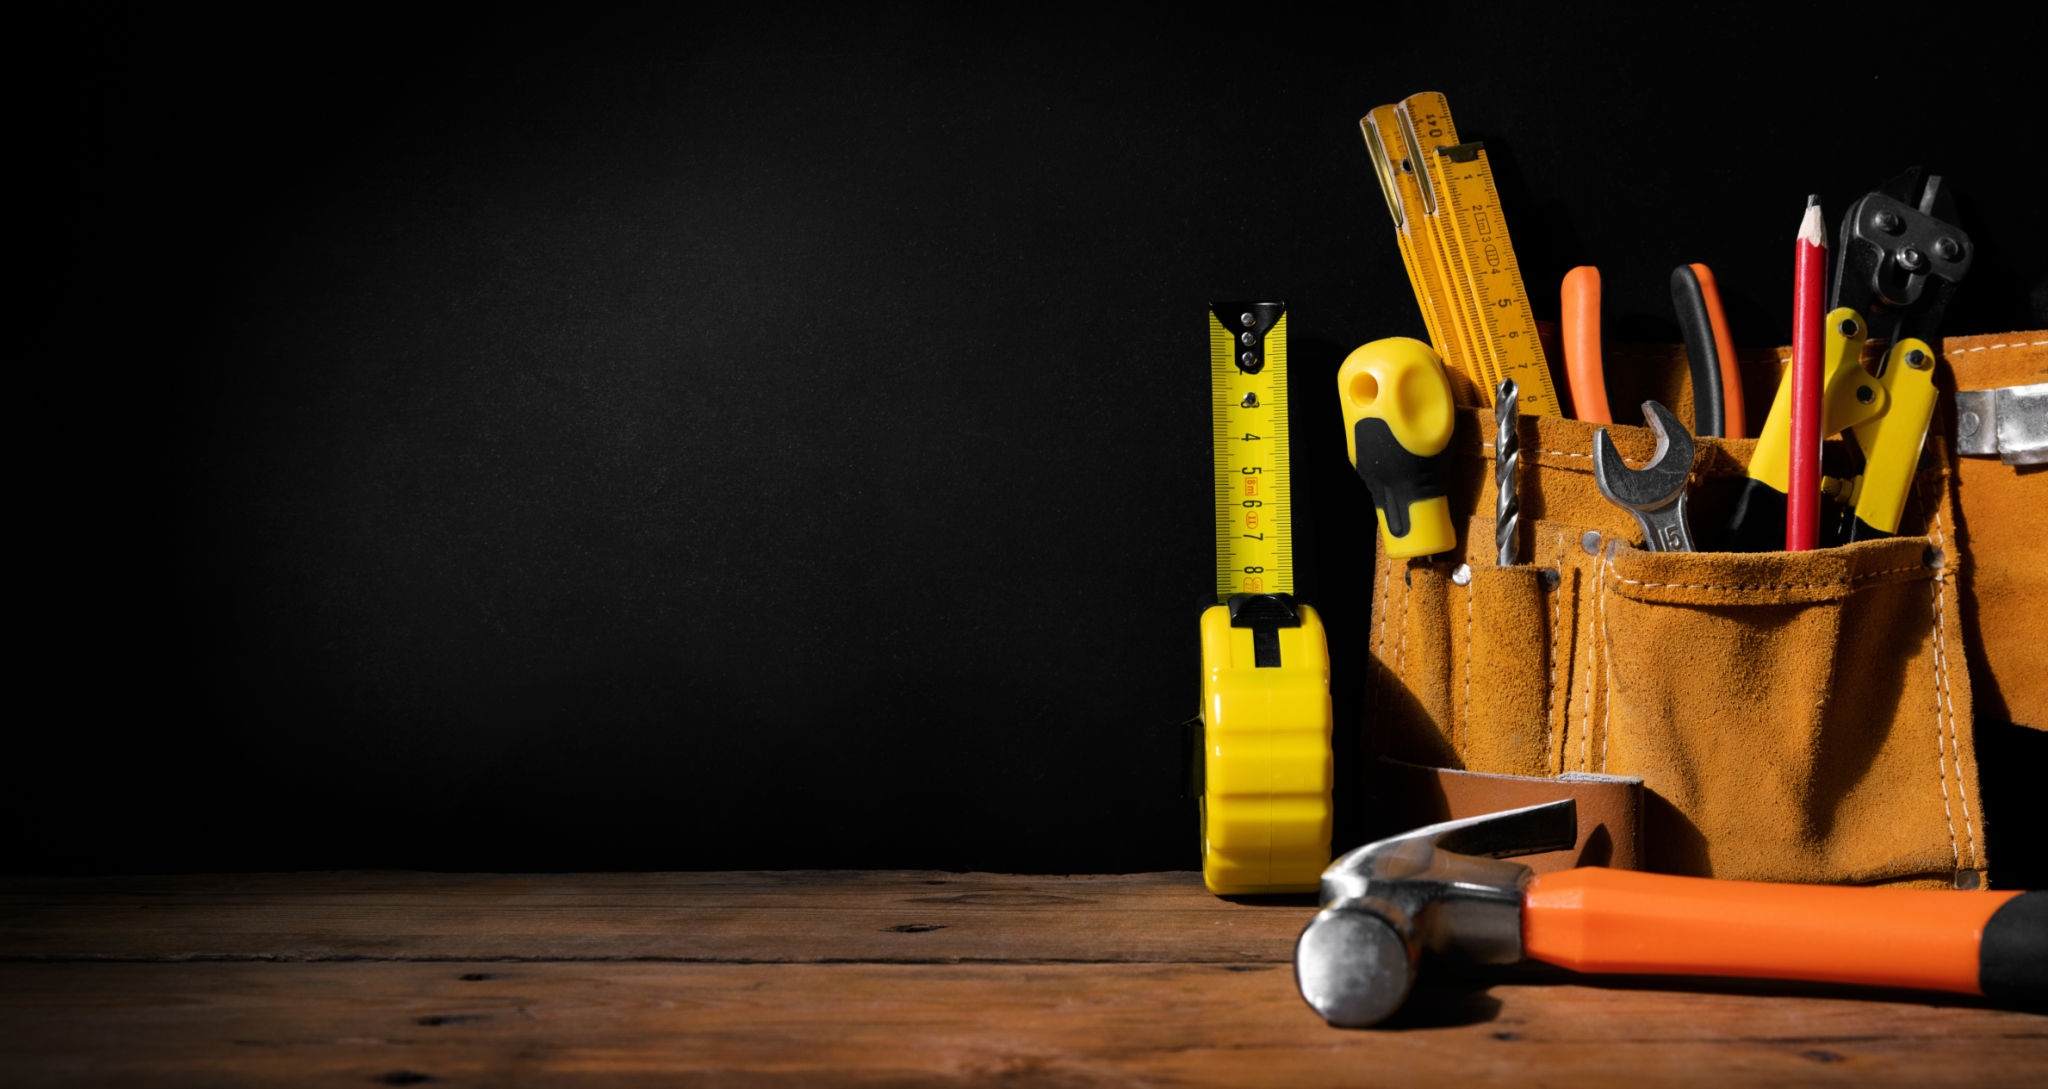
Using the Wrong Tools
Another common mistake is using inappropriate tools for the job. Many people resort to makeshift tools like kitchen knives or putty knives, which can damage the wall surface. Instead, invest in proper wallpaper removal tools:
- A scoring tool to perforate the wallpaper surface.
- A scraper with a flexible blade for gentle removal.
- A steamer or spray bottle for applying moisture.
Ignoring Adhesive Residue
Removing wallpaper is only half the battle; properly dealing with adhesive residue is equally important. Leaving adhesive behind can interfere with new paint or wallpaper application. Use a mixture of warm water and mild detergent, or a commercial adhesive remover, to wash away all traces of glue.
Be thorough in this step to ensure a smooth surface for your next decorating project. If needed, lightly sand the wall after cleaning to achieve an even finish.
Conclusion
Avoiding these common mistakes in DIY wallpaper removal can make your project smoother and more enjoyable. By preparing adequately, using the right tools, and taking your time, you’ll transform your space without unnecessary stress. Remember that patience and attention to detail are your best allies in achieving professional results.